Introduction
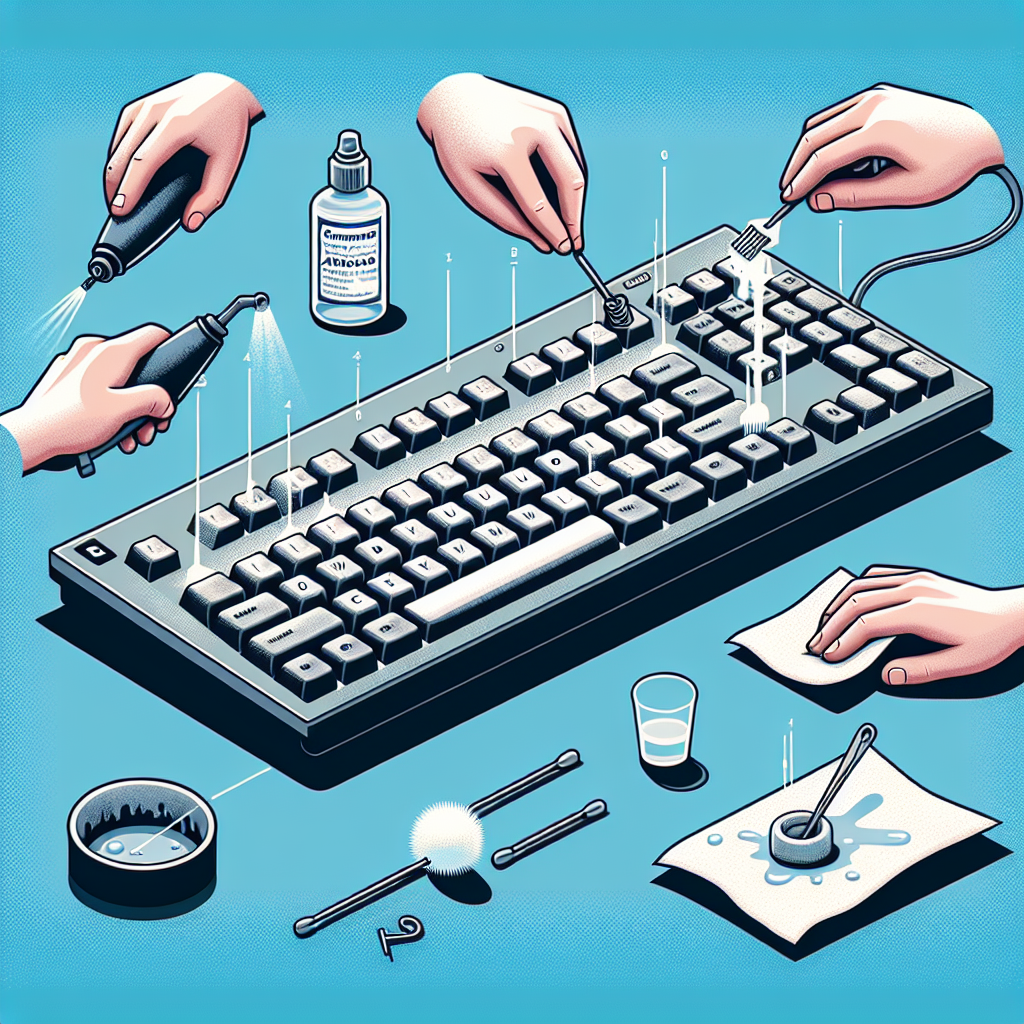
Sticky keyboard keys can be a significant annoyance, whether you’re typing an important document or just casually browsing the web. Over time, dust, crumbs, and other debris can accumulate under the keys, causing them to become less responsive. Fortunately, there are several methods for fixing sticky keyboard keys. This comprehensive guide will walk you through the steps needed to restore your keyboard to optimal working condition.
Common Causes of Sticky Keyboard Keys
Before diving into the solutions, it’s essential to understand what might be causing your keyboard keys to stick. Here are some common causes:
- Spilled liquids: Coffee, soda, or any liquid can seep into the keyboard, making the keys sticky.
- Dirt and dust: Accumulation of dirt and dust can hinder the movement of keys.
- Food crumbs: Eating over your keyboard can cause crumbs to get lodged under the keys.
- Wear and tear: Prolonged use can naturally cause keys to become sticky over time.
Tools You’ll Need
Before you begin, gather the necessary tools:
- Compressed air
- Cotton swabs
- Rubbing alcohol or isopropyl alcohol
- Small screwdriver
- Soft cloth
- Keycap puller (optional)
Step-by-Step Guide to Fixing Sticky Keyboard Keys:
1. Turn Off Your Device
To avoid any electrical issues, ensure your device is turned off before you begin. If you have a laptop, disconnect the power and remove the battery if possible.
2. Remove and Clean Individual Keys
If the sticky keys are isolated to a few keys, you can remove them for a thorough cleaning. Follow these steps:
- Remove the Keycap: Use a keycap puller or a small screwdriver to gently pry off the keycap. Be cautious not to damage the underlying mechanism.
- Clean the Keycap: Soak the keycaps in warm, soapy water and scrub them gently with a toothbrush. Rinse and let them dry completely.
- Clean the Switch: Dip a cotton swab in rubbing alcohol and clean the area under the removed keycap. Also, use compressed air to blow away any debris.
- Reassemble the Keys: Once everything is dry, reattach the keycaps by gently pressing them back into place.
3. Cleaning Without Removing Keycaps
If you’re uncomfortable removing the keycaps, you can still give your keyboard a deep clean:
- Turn the Keyboard Upside Down: Carefully turn the keyboard upside down and gently shake it to dislodge any loose debris.
- Use Compressed Air: Hold your keyboard upside down and use compressed air to blow away dust and crumbs from between the keys.
- Clean with Alcohol: Dampen a cotton swab with rubbing alcohol and carefully clean around the sticky keys. Be sure not to saturate the area, as excessive moisture can damage the keyboard.
4. Preventive Measures
Once your keyboard is clean, take these preventive measures to keep it in good condition:
- Use a Keyboard Cover: A keyboard cover can help protect against spills and debris.
- Clean Regularly: Make it a habit to clean your keyboard regularly to prevent buildup.
- Avoid Eating or Drinking Near the Keyboard: This will reduce the risk of getting crumbs and spills on the keys.
Conclusion
Sticky keyboard keys can be frustrating, but with the right tools and techniques, you can easily fix them and restore your keyboard’s functionality. Regular maintenance and proper care can also help prevent future issues. Follow the steps outlined in this guide and you’ll have a clean, responsive keyboard in no time.

